Outdoor Kitchen Layout: How to Design a Functional Island (2026)
A functional outdoor kitchen layout comes down to one thing: arranging the space around the way you actually cook. Set up a clear work sequence, cold storage, prep space, the grill, a landing spot, then serving, and give the grill enough counter on both sides. Pick an island shape that fits your patio (straight, L-shaped, U-shaped, or galley), keep walkways clear of the cook, and place bar seating where guests can gather without blocking the work zone. Get that right and even a compact island feels easy to use. Here is how to plan it, step by step.

In this article
- Start with the work sequence
- Choose your island shape
- Counter space and clearances
- Plan the hot, cold, wet, and dry zones
- Add bar seating without crowding the cook
- Let utilities and ventilation follow the layout
- Frequently asked questions
Start with the work sequence
Indoor kitchens follow a work triangle between the fridge, sink, and stove. Outdoors, think of it as a left-to-right sequence: cold storage, prep, cook, landing, serve. You pull food from the fridge, prep it on open counter, cook it on the grill, set it down on a landing area, then move it to serving or bar seating. Lay the island out in that order and the kitchen feels natural. Ignore it, and you end up carrying raw and cooked food back and forth across the cook. This flow matters more than the island's shape or size, so settle it first. For the bigger-picture decisions around it, see our outdoor kitchen planning guide.
Choose your island shape
The shape follows your space and how much you entertain. Four layouts cover almost every backyard:
| Layout | Best for | Notes |
|---|---|---|
| Straight (linear) | Small patios, along a wall | Simplest and cheapest; keep the grill center with counter each side |
| L-shaped | Most backyards | Separates cooking from prep or bar; the versatile all-rounder |
| U-shaped | Frequent hosts, big spaces | Maximum counter and appliances; needs room to move inside the U |
| Galley (two runs) | Serious cooks | Cooking on one side, prep and serving on the other, with a walkway between |
If you want the layout decided for you, a prefabricated island bundles the grill, counter, and structure in a proven configuration, which removes most of the guesswork.

A prefabricated 8-foot island with a 32-inch Premium LTE+ grill, counter, and storage in one proven layout.
Counter space and clearances
Most layouts fail because the grill has nowhere to work around it. Build in real counter space and walking room:
- Landing space: at least 24 inches of counter on one side of the grill and ideally on both, so you have somewhere to set platters and tools.
- Prep space: a minimum of 36 inches of clear counter for actual food prep, separate from the grill's landing space.
- Walkways: keep 42 to 48 inches of clear floor behind the cook so people can pass without crowding a hot grill.
- Grill clearance: follow the manufacturer's clearance to combustibles, and keep the grill away from doors, windows, and low overhead structures so smoke does not become a problem.
The grill itself anchors all of this, so choose it early and design the counter runs around it.

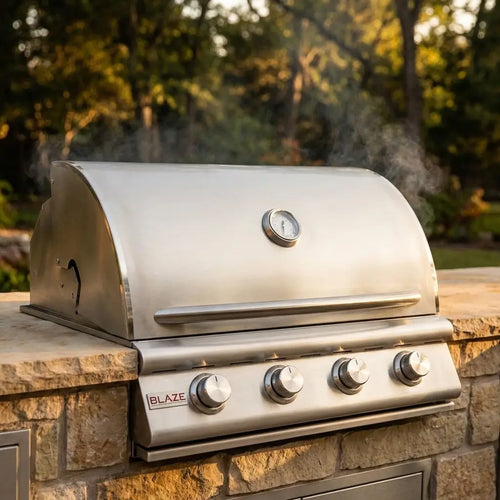
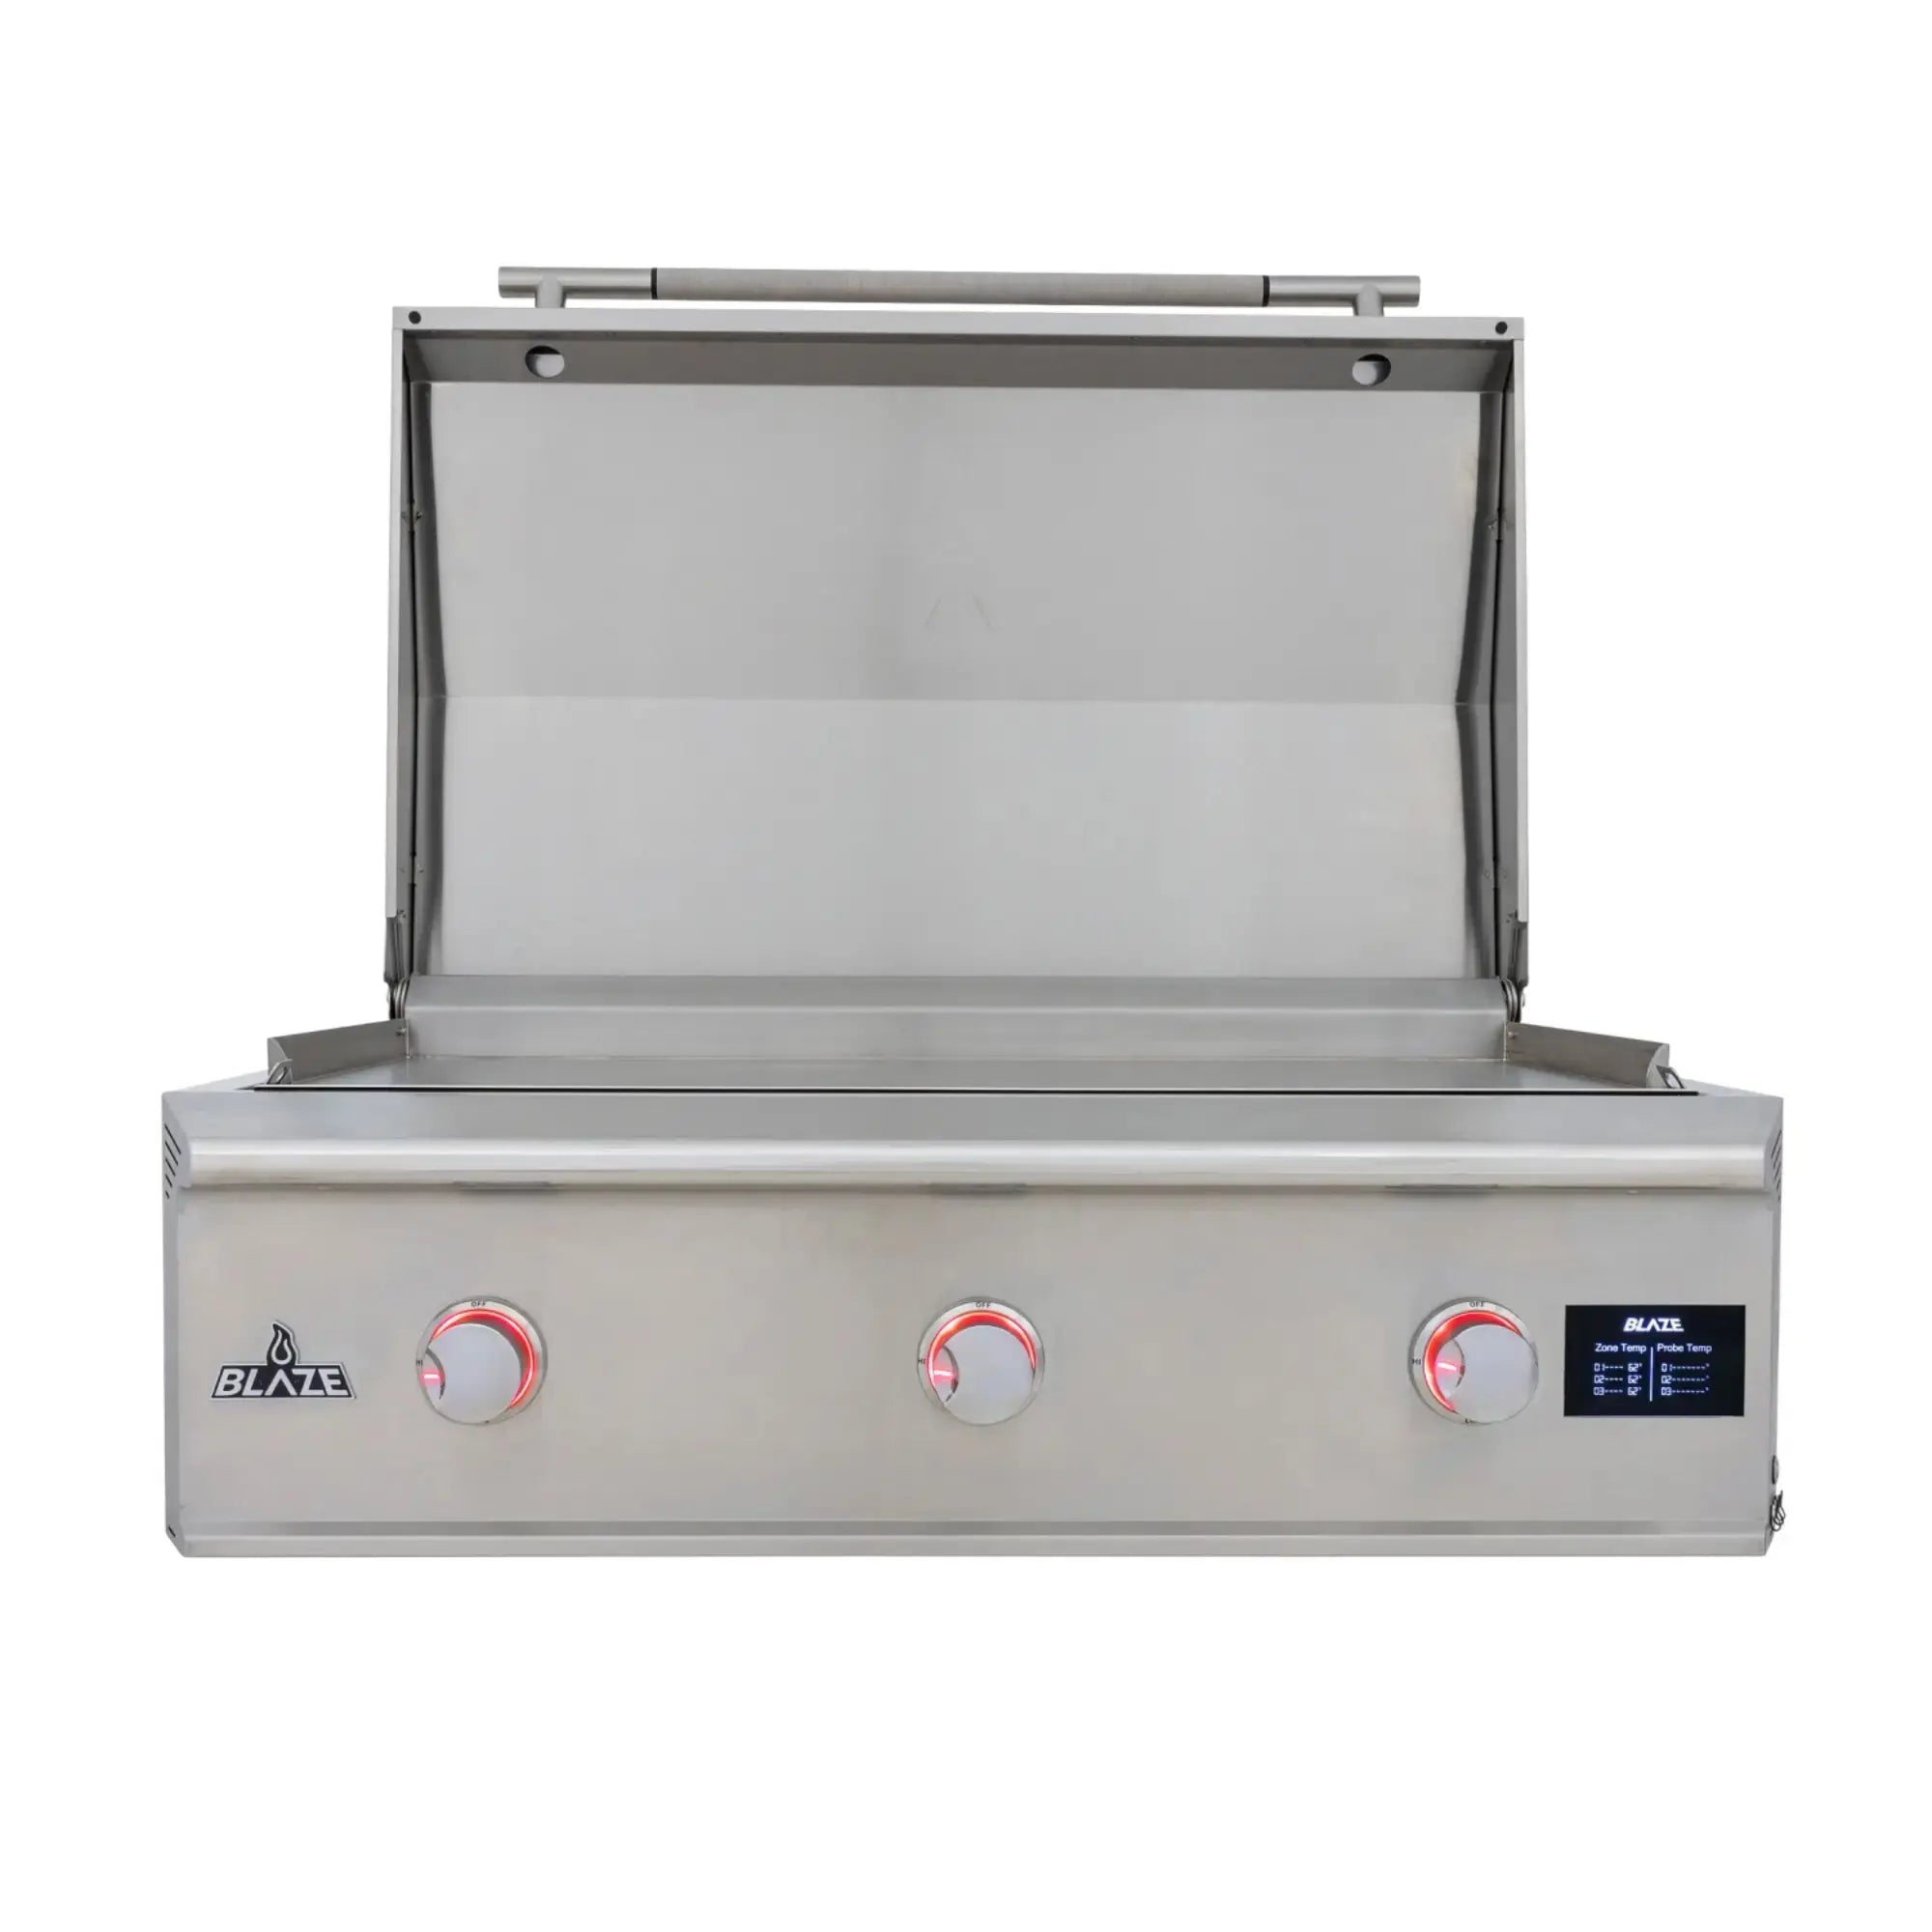
A 36-inch built-in grill that anchors a mid-size island. Design your counter runs to give it landing space on both sides.
Plan the hot, cold, wet, and dry zones
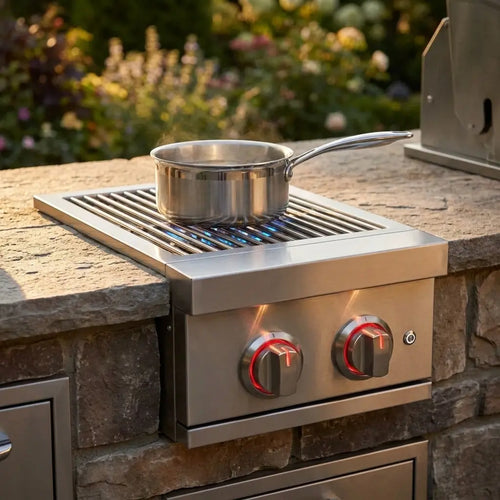
Think of the island as four zones and group like with like. The hot zone is the grill and any side burner or power burner. The cold zone is refrigeration and ice, best placed near where you prep and serve, not right next to the grill's heat. The wet zone is a sink, which brings plumbing and drainage. The dry zone is storage for tools, fuel, and serving pieces. Keeping the cold zone away from the hot zone protects your refrigeration and keeps drinks within easy reach of guests.

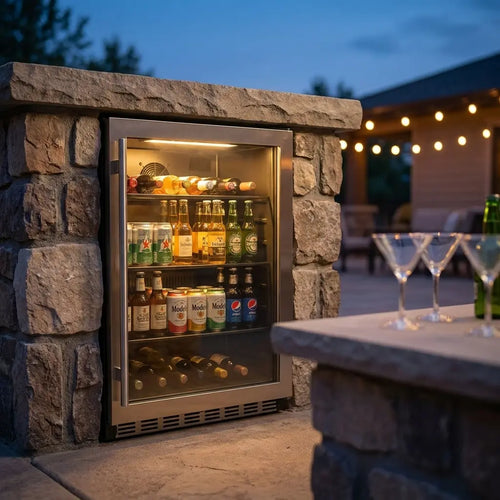
An outdoor-rated fridge for the cold zone, built to handle conditions an indoor unit placed outside cannot.

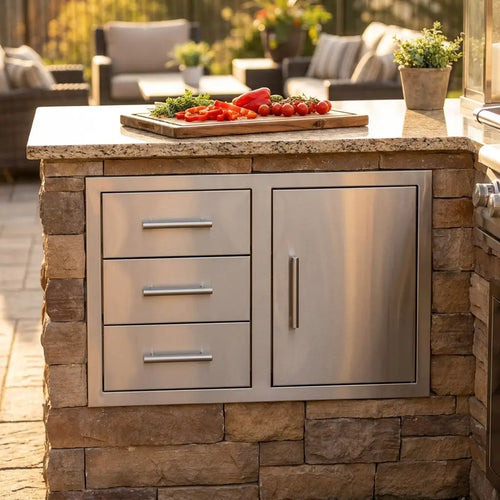
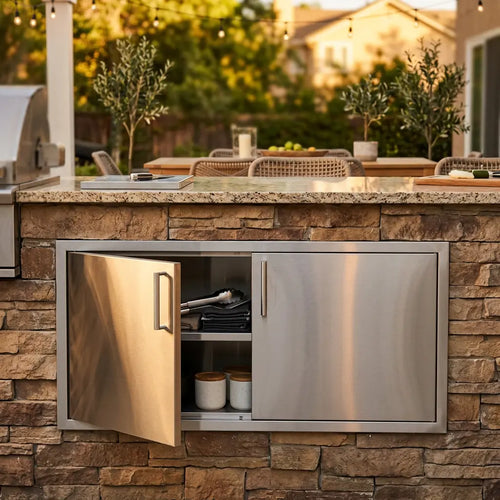
Weather-sealed storage for tools, fuel, and serving pieces, keeping the dry zone organized and close at hand.
For the full rundown of what goes in each zone, see our guides to outdoor kitchen components, cabinets and storage, and appliances.
Add bar seating without crowding the cook
Bar seating makes an outdoor kitchen social, but placed wrong it puts guests in the cook's way or directly in front of a hot grill. Keep seating on the opposite side of the island from the cooking zone, or on the short leg of an L. Allow about 24 inches of width per stool and a 12 to 15 inch counter overhang for knee room. If the only spot for seating is across from the grill, an L-shaped or galley layout that separates the two is worth the extra footprint. Often, a separate but connected dining or lounge area works better than forcing everyone onto one bar.
Let utilities and ventilation follow the layout
Once the zones are set, the utilities follow: gas to the grill, power to refrigeration and lighting, and water and drainage to a sink. Settle these while the layout is still on paper, because moving a gas line or drain after the island is built is expensive. If the kitchen sits under a roof or pergola, confirm the grill's overhead clearance and ventilation requirements, since not every grill is rated for every covered setup. Task lighting over the grill and prep zones matters more than ambient light for actually cooking after dark. Our planning guide covers utilities and budgeting in depth, and if you are still deciding whether to build an island at all, see outdoor kitchen vs a standalone grill.
Frequently asked questions
What is the best outdoor kitchen layout?
For most backyards, an L-shaped island is the best all-round layout because it separates the cooking zone from prep or bar seating while fitting a typical patio. Straight islands suit small spaces, U-shaped and galley layouts suit frequent hosts and serious cooks with more room.
How much counter space does an outdoor kitchen need?
Plan at least 24 inches of landing counter beside the grill (ideally both sides) and a separate 36 inches of clear prep space. More is better, since counter space is what makes a kitchen usable rather than just a grill in a wall.
How much clearance do you need around an outdoor kitchen island?
Leave 42 to 48 inches of clear walkway behind the cook so people can pass a hot grill safely, and follow the grill maker's clearance-to-combustibles and overhead requirements, especially under a roof or pergola.
Where should the grill go in an outdoor kitchen?
Center the grill in the cooking zone with counter on both sides, away from doors, windows, and covered seating so smoke does not blow into them. Keep refrigeration and seating out of the direct heat and traffic path.
How big should an outdoor kitchen island be?
It depends on your appliances and how you entertain, but a functional single-cook island usually runs 6 to 8 feet with a built-in grill plus landing and prep counter. Add length for a side burner, refrigeration, a sink, or bar seating.
Build your outdoor kitchen
Explore built-in grills, prefab islands, refrigeration, storage, and components from All Season Patio, with expert help planning your layout.
Shop outdoor kitchens →More outdoor kitchen guides: the complete planning guide, choosing components, modular kitchen kits, the best grill for an outdoor kitchen, and BBQ and outdoor kitchen ideas.