How to Install a Grill in an Outdoor Kitchen

A built-in grill can make an outdoor kitchen feel finished, but the install is where a lot of expensive mistakes happen. If you're figuring out how to install a grill in an outdoor kitchen, the job is less about dropping a unit into a cabinet and more about getting the cutout, clearances, fuel connection, and ventilation right from the start.
A premium grill is built to last for years in heat, rain, and heavy use. That only pays off if the surrounding island is designed to support it properly. When the grill opening is off by even a small amount, or the gas line and airflow are treated like afterthoughts, performance and safety both suffer.
What to plan before installing a grill
The most common problem is starting with the island and choosing the grill later. In most cases, that should be reversed. Built-in grills are not interchangeable, and cutout dimensions vary by brand and model. A 32-inch grill from one manufacturer may need a different opening depth, support system, or ventilation layout than a 32-inch grill from another.
Before any framing or finish work begins, confirm the grill's manufacturer specifications. You want the exact cutout width, depth, height, required clearances to combustible materials, ventilation requirements, and utility needs. If the grill has lighting, rotisserie power, or integrated ignition requirements beyond a standard setup, account for that now rather than trying to retrofit later.
It also helps to decide how the grill will function within the whole kitchen. If the grill is the main cooking zone, leave enough landing space on at least one side for trays, tools, and hot food. If you're adding side burners, refrigeration, or storage doors, think about door swing, walking paths, and whether multiple people can use the space comfortably at once.
How to install a grill in an outdoor kitchen the right way
The installation itself usually comes down to five connected pieces: the island structure, the grill opening, ventilation, utilities, and final placement. If one is off, the others become harder to fix.
Start with the right island construction
The island must be built from materials suitable for outdoor heat and weather exposure. That often means masonry, metal studs with non-combustible board, or another approved non-combustible assembly around the grill area. Wood framing may still be used in some outdoor kitchens, but around a built-in grill, combustible construction creates more restrictions and usually requires added protective measures. This is where local code and the grill manufacturer instructions matter.
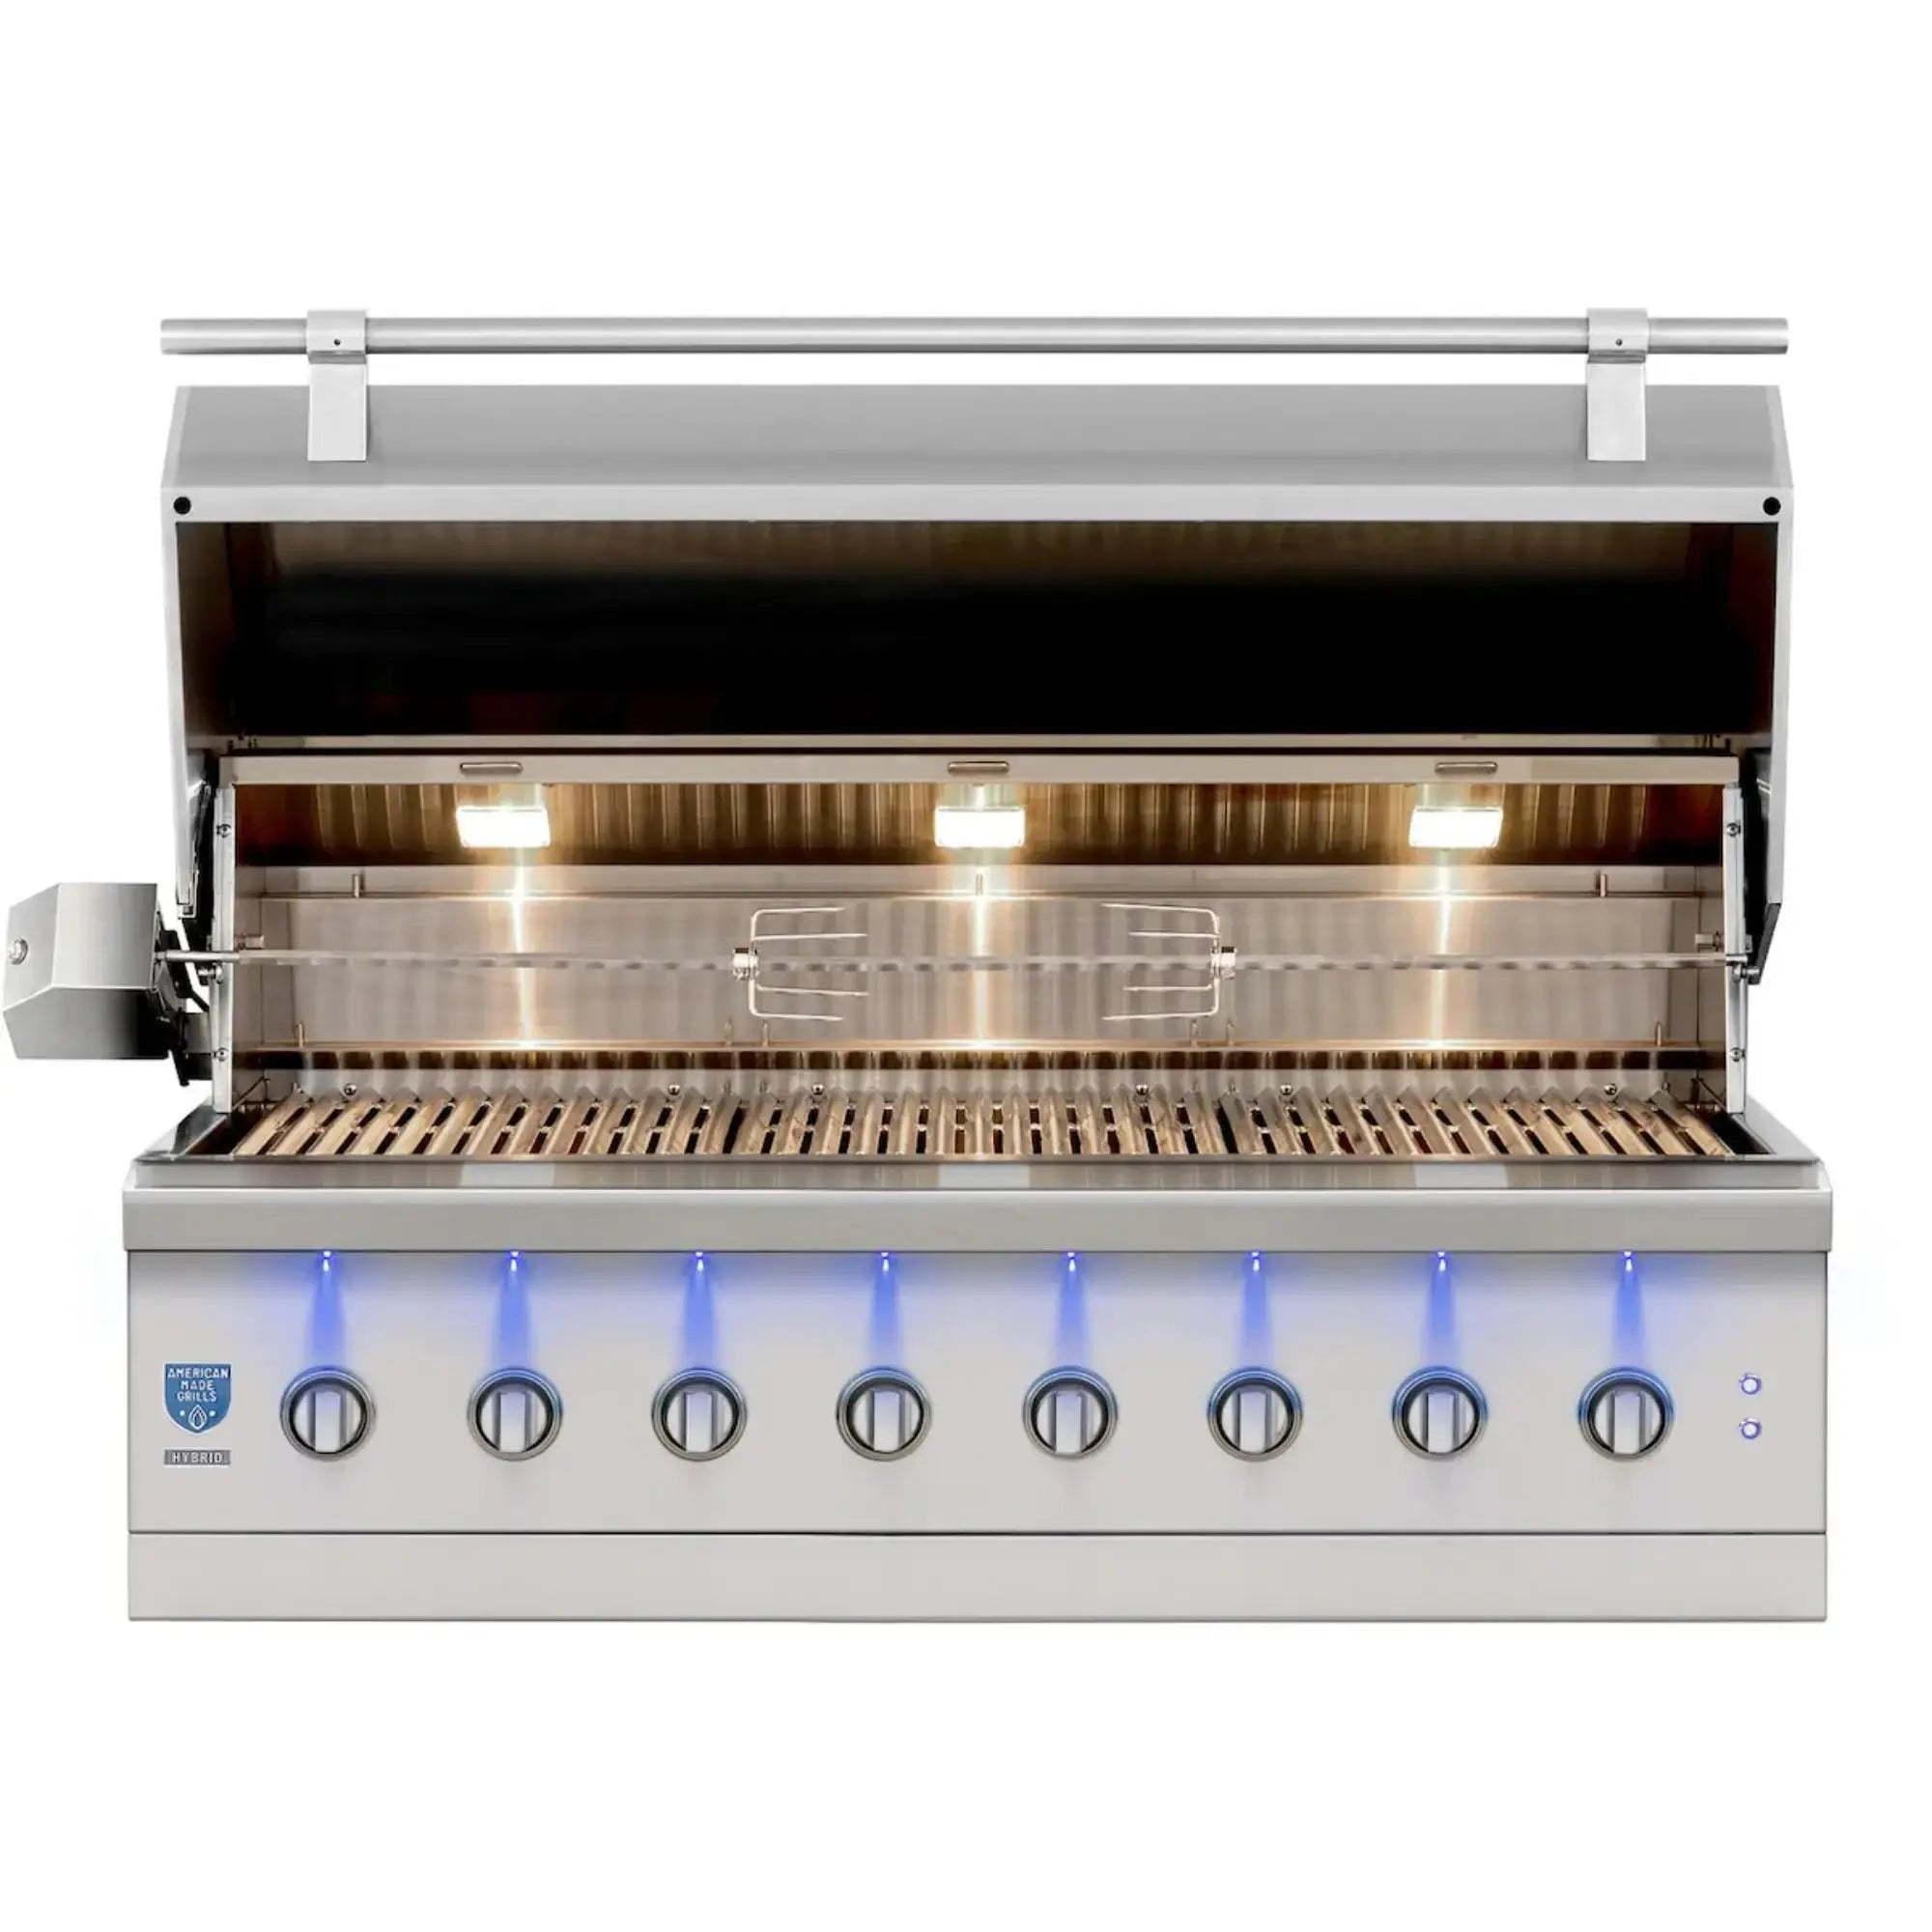
Support is another detail people underestimate. Built-in grills are heavy, especially larger stainless models with hoods, interior lighting, and rotisserie systems. The grill should sit on a stable platform or mounting ledge designed for its weight, not rest unevenly on finish material or improvised brackets.
Cut the opening to the manufacturer's specs
This is not the time to round dimensions or assume close enough is fine. Follow the exact cutout dimensions provided for your grill model. A cutout that's too tight can make installation difficult, interfere with ventilation, or put pressure on the grill body. A cutout that's too large can leave visible gaps and reduce support.
Measure more than once before finishing the enclosure. It is much easier to correct framing than to redo stone, stucco, or tile. If the grill requires a trim kit or insulated jacket, those dimensions take priority over the grill body itself.
That last point is especially important. Some grill installations over combustible framing require an insulated jacket. That jacket creates a safety buffer between the grill and surrounding materials, but it also changes the required opening size. If your design calls for one, build around it from the beginning.
Build in proper ventilation
Ventilation is not optional, particularly for gas grills. Heat and any accumulated gas need a way to dissipate safely. Built-in grill enclosures should include the venting specified by the grill manufacturer and, where applicable, local code.
For propane installations, ventilation becomes even more critical because propane is heavier than air and can collect in enclosed cavities. Natural gas behaves differently, but either fuel type needs a properly planned enclosure. A clean outdoor kitchen design should never come at the cost of airflow.
This is one of those areas where a practical breakdown matters more than looks. Hidden vents may seem appealing, but if they reduce required airflow, they are not worth it.
Gas, electric, and utility setup
A built-in grill installation usually involves more than just a fuel line. Depending on the model, you may also need electrical service for ignition, interior lights, rotisserie components, or smart controls.
Choose propane or natural gas carefully
If your home already has natural gas available near the patio, that can be the more convenient long-term setup. You do not have to refill tanks, and fuel supply is continuous. But natural gas grills must be configured for natural gas. You cannot assume field conversion is allowed on every model.
Propane gives more placement flexibility, especially when a hard gas line is not practical, but the tank location has to be planned safely. In many built-in applications, the propane tank cannot simply sit in a closed cabinet without proper venting and storage provisions. Check both manufacturer guidelines and local requirements before building the base.
Use a licensed professional for gas connections
Homeowners who are comfortable with finish carpentry or cabinet assembly should still be cautious here. Gas line sizing, shutoff valve placement, leak testing, and code compliance are not guesswork items. A licensed gas plumber or qualified contractor can make sure the line is sized correctly for the grill's BTU demand and any additional appliances in the kitchen.
That matters because undersized gas lines can lead to poor burner performance even when everything appears connected properly. Flames may be weak, preheat times may lag, and the grill may never perform the way it should.
Plan electrical access before finishes go on
If the grill or nearby appliances need power, install a weather-appropriate outdoor electrical setup in advance. GFCI protection, proper outlet placement, and conduit routing should all be resolved before the enclosure is closed up.
A simple mistake here is placing the outlet where it becomes inaccessible once the grill is installed. Leave service access. Outdoor kitchens look cleaner when wiring is hidden, but hidden should still mean reachable when maintenance is needed.
Clearances and safety details that matter
When homeowners ask how to install a grill in an outdoor kitchen, they usually focus on fit. Safety is the bigger issue. Grill manufacturers specify minimum clearances above, behind, and to the sides of the unit, especially near combustible surfaces. These are not conservative suggestions. They are part of how the appliance is tested.
Pay close attention to overhead structures. A built-in grill under a pergola, patio cover, or vent hood can work, but only if the setup meets the grill's requirements and local building rules. Heat, smoke, and grease vapors need proper management. If you're installing under any kind of roof structure, this is an area where professional review is worth it.
Access panels also deserve more thought than they usually get. Your installer or service technician may need to reach gas shutoffs, regulators, electrical connections, or hoses later. If the island is sealed too tightly in the name of clean design, routine service becomes frustrating and expensive.
Final placement and fit-off
Once the island, utilities, and ventilation are ready, the grill can be set into place according to the manufacturer's instructions. In most cases, the unit drops into the cutout and rests on its designed support edges or mounting surfaces. It should sit level, with consistent reveal lines and no rocking or twisting.
After connection, test everything before calling the project finished. That means checking for gas leaks, confirming burner ignition, verifying flame quality, and making sure the hood opens freely without hitting a backsplash, vent hood, or nearby wall. If the grill includes lights or powered accessories, confirm those too.
This is also the moment to look at usability, not just installation. Is there enough elbow room to cook comfortably? Can grease trays be removed without obstruction? Are control knobs easy to reach without standing too close to hot surfaces? A grill can be technically installed and still feel awkward in daily use.
Common mistakes to avoid
The biggest mistakes are usually avoidable. Choosing the island before the grill, ignoring cutout tolerances, skipping ventilation, and treating gas hookup like a simple DIY task are the ones that cause the most trouble. Another common issue is buying a premium built-in grill without thinking through the supporting pieces around it, from insulated jackets to access doors to ventilation panels.
This is where curated product selection actually helps. When the grill, storage, and outdoor kitchen components are chosen to work together, installation tends to go more smoothly and the finished result feels intentional. All Season Patio works with homeowners who want that kind of confidence before they commit to a premium setup.
A good grill install should disappear into the experience of using the kitchen. If you plan carefully, follow the manufacturer's specs, and bring in licensed help for fuel and electrical work, you end up with a space that cooks well, looks right, and keeps performing season after season.