
Planning Your Outdoor Kitchen
Building an outdoor kitchen is a bigger project than most people expect — and a lot of expensive mistakes are preventable. Here's the practical roadmap we walk customers through before they buy a single component.
Step 1: Decide What You're Actually Building
There's a huge difference between a "grilling station" and a "full outdoor kitchen." Be honest about which one you want.
- Grilling station: A grill, some storage, maybe a side burner. Fits on a modest patio. 6–10 feet of linear space.
- Entertainment kitchen: Grill + refrigeration + sink + counter space + a griddle or pizza oven. Needs 12–18 feet.
- Full outdoor kitchen: Everything above plus a power burner, full-size fridge, ice maker, multiple cooking zones, covered area. 18+ feet and serious square footage.
Step 2: Site Selection
Where you put the kitchen affects what it can include and what it will cost to build.
Distance from the house
Every foot farther from the house adds cost. Gas, water, and power lines have to get there. If you're more than 30 feet away, budget extra.
Wind direction
Position the grill so prevailing winds carry smoke away from your seating area and the house. Nobody wants to eat dinner in a smoke cloud.
Roof / shelter
A pergola or covered area extends the season significantly — and is non-negotiable in climates with real winters. If you're covering it, you'll need a vent hood. Non-negotiable for gas grills under any roof, because carbon monoxide is a real hazard.
Proximity to the indoor kitchen
Closer is better. You'll be running back and forth for plates, utensils, food. Make it easy on yourself.
Step 3: Utilities (This Is the Expensive Part)
Gas
If you want natural gas, you need a licensed plumber or gas fitter to run a line from your house to the island. Depending on distance and local code, budget $800–$3,000+. Propane is cheaper to set up but means managing tanks.
Electricity
Every outdoor kitchen needs at least one outdoor-rated GFCI outlet. Refrigeration, ice makers, LED lighting, and vent hoods all need power. An electrician will need to run a dedicated circuit — budget $500–$1,500+.
Water & drainage
If you want a sink, you need both a water supply line and a drain. In freezing climates, this means frost-proof plumbing with shutoffs. $1,500–$4,000 depending on complexity.
Step 4: Layout & Workflow
Professional kitchens use the "work triangle" — stove, sink, fridge arranged so you don't cross paths while cooking. Same principle outdoors.
The hot zone
The grill and any other cooking components (side burner, pizza oven, power burner) should cluster together. You don't want to walk 15 feet while juggling a hot spatula.
The cold zone
Refrigeration, beverage center, and ice maker should be near the seating side, not next to the grill (heat kills efficiency).
Counter space
This is the single most undersized element in DIY outdoor kitchens. You need at least 18 inches of counter on each side of the grill for prep and plating. 24+ is better.
Step 5: Choose Your Components
Here's a working list most outdoor kitchens pull from. You don't need everything — pick based on how you actually cook.
Core cooking components
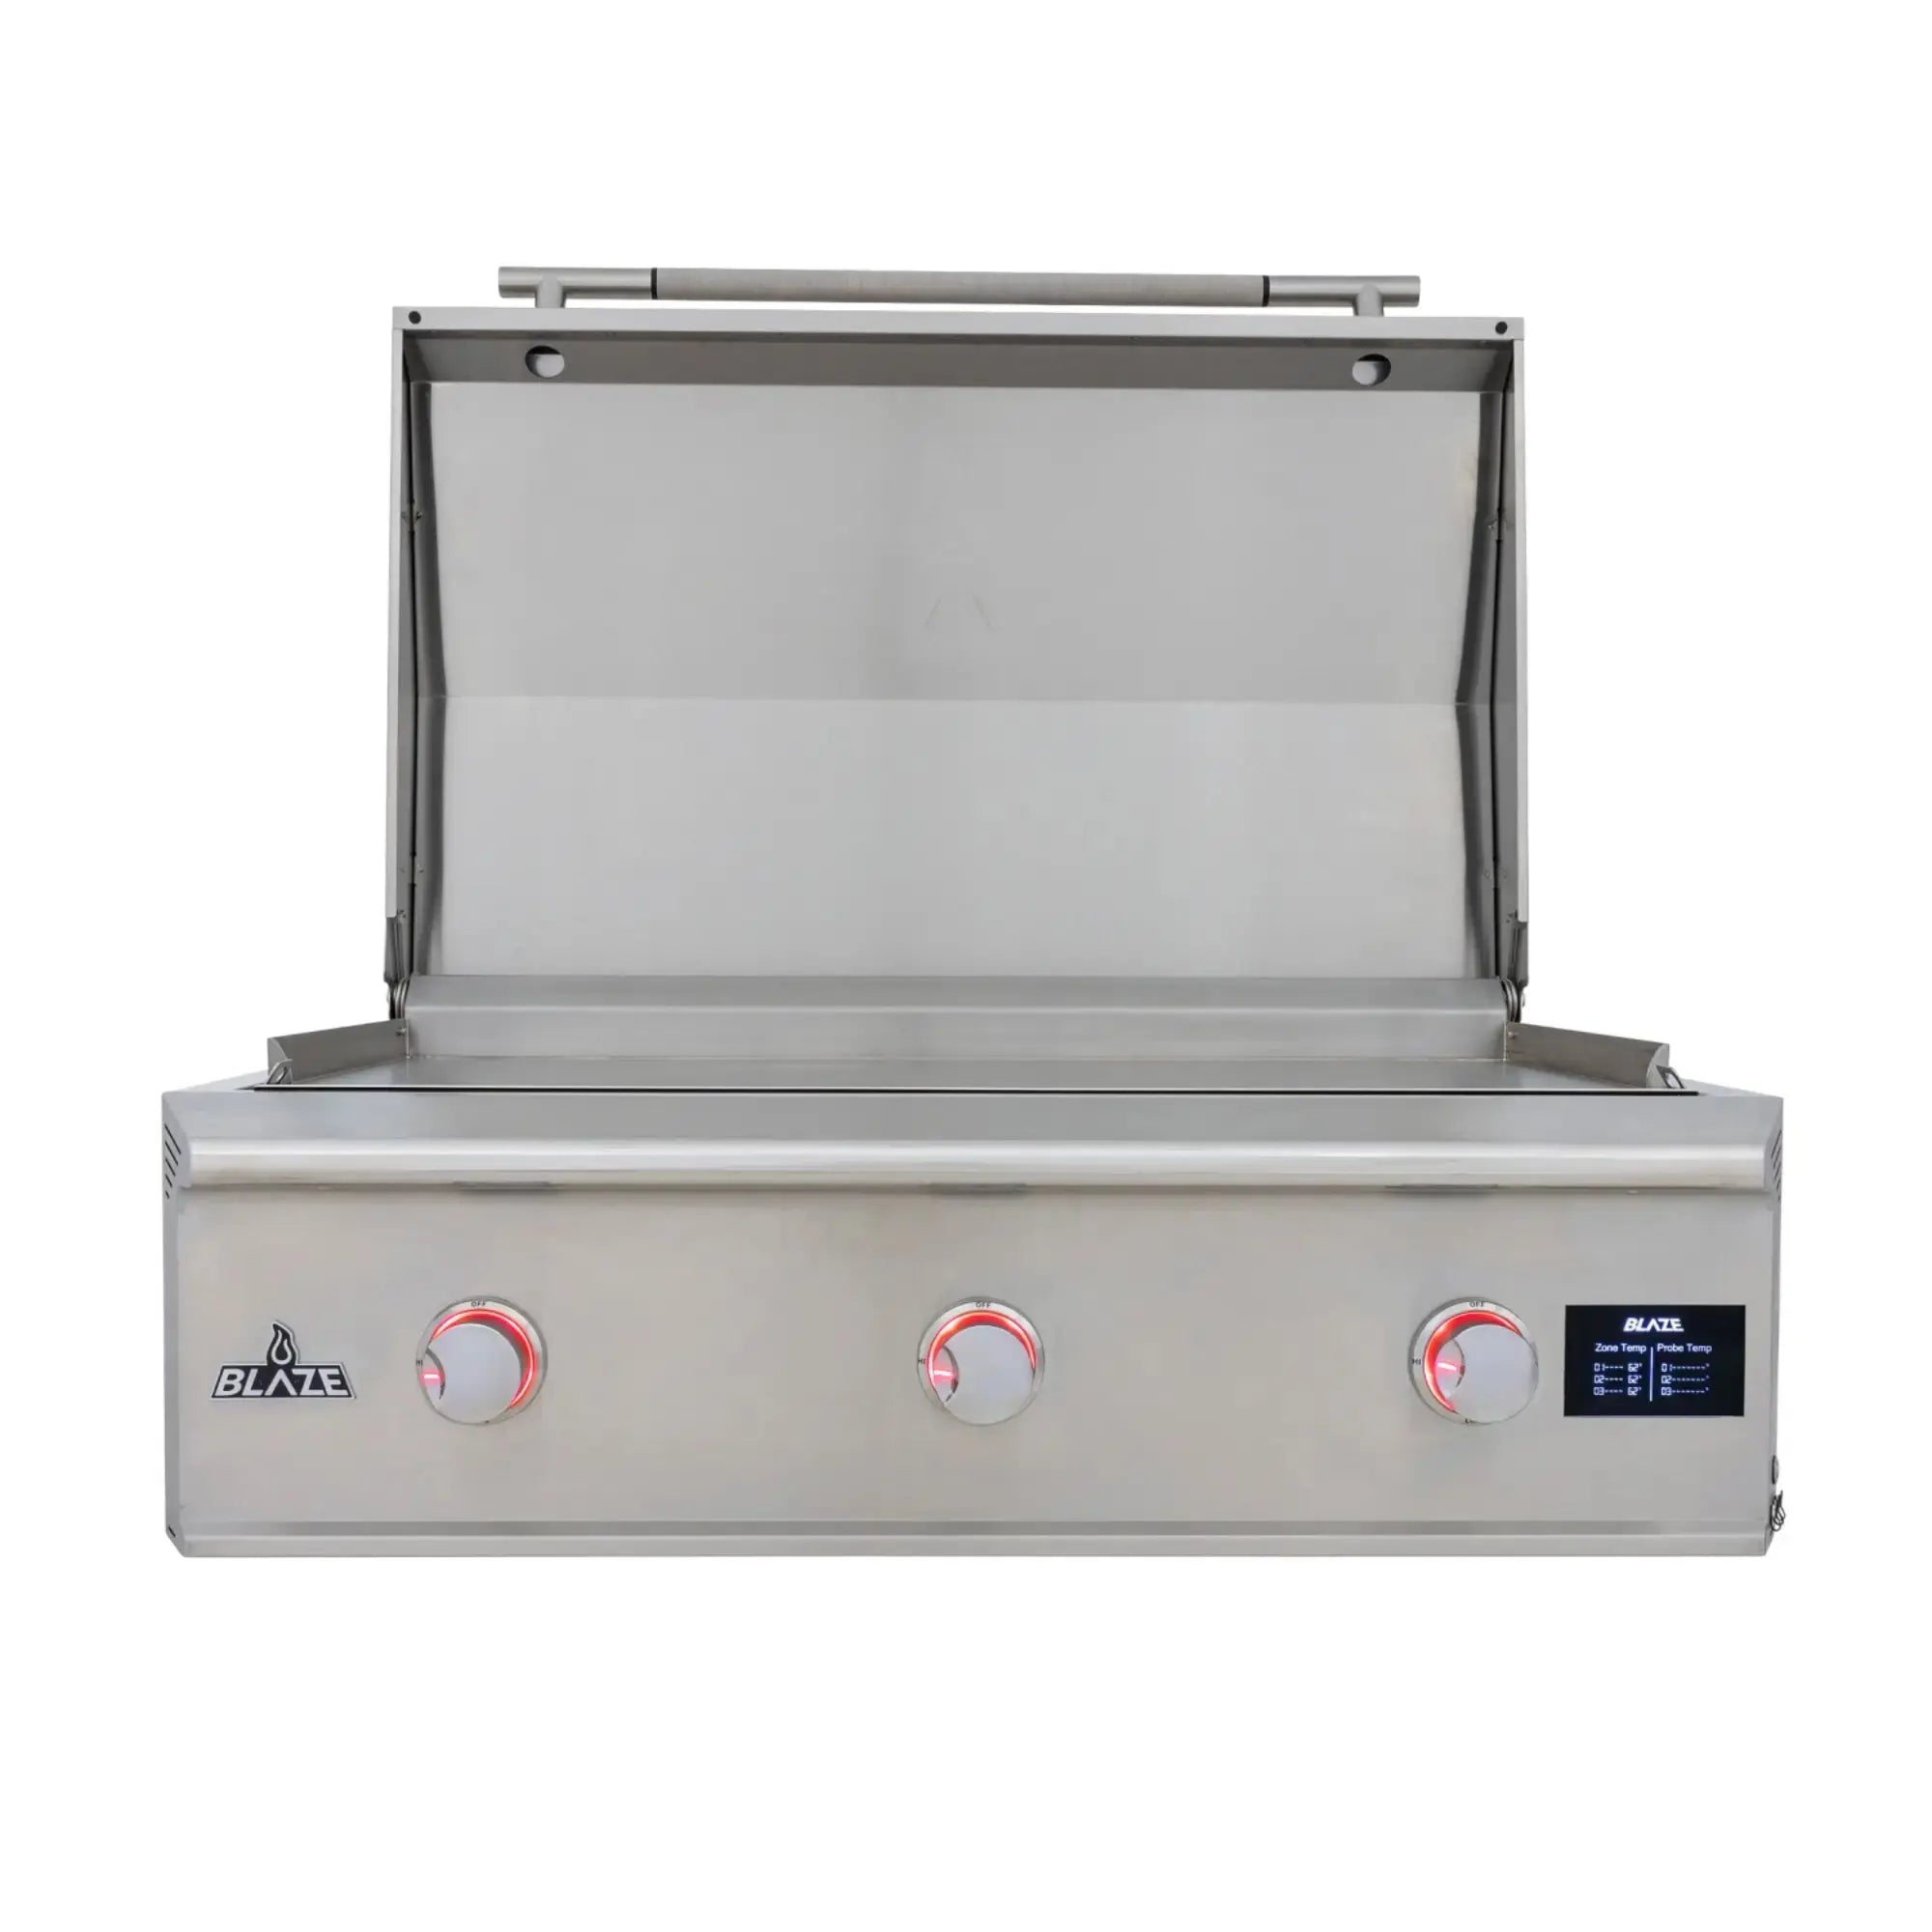
- Grill (gas, charcoal, or pellet)
- Side burner (sauces, sides, boiling water)
- Power burner (high-BTU — for wok cooking, crab boils, fry jobs)
- Griddle (breakfast, smash burgers, fajitas)
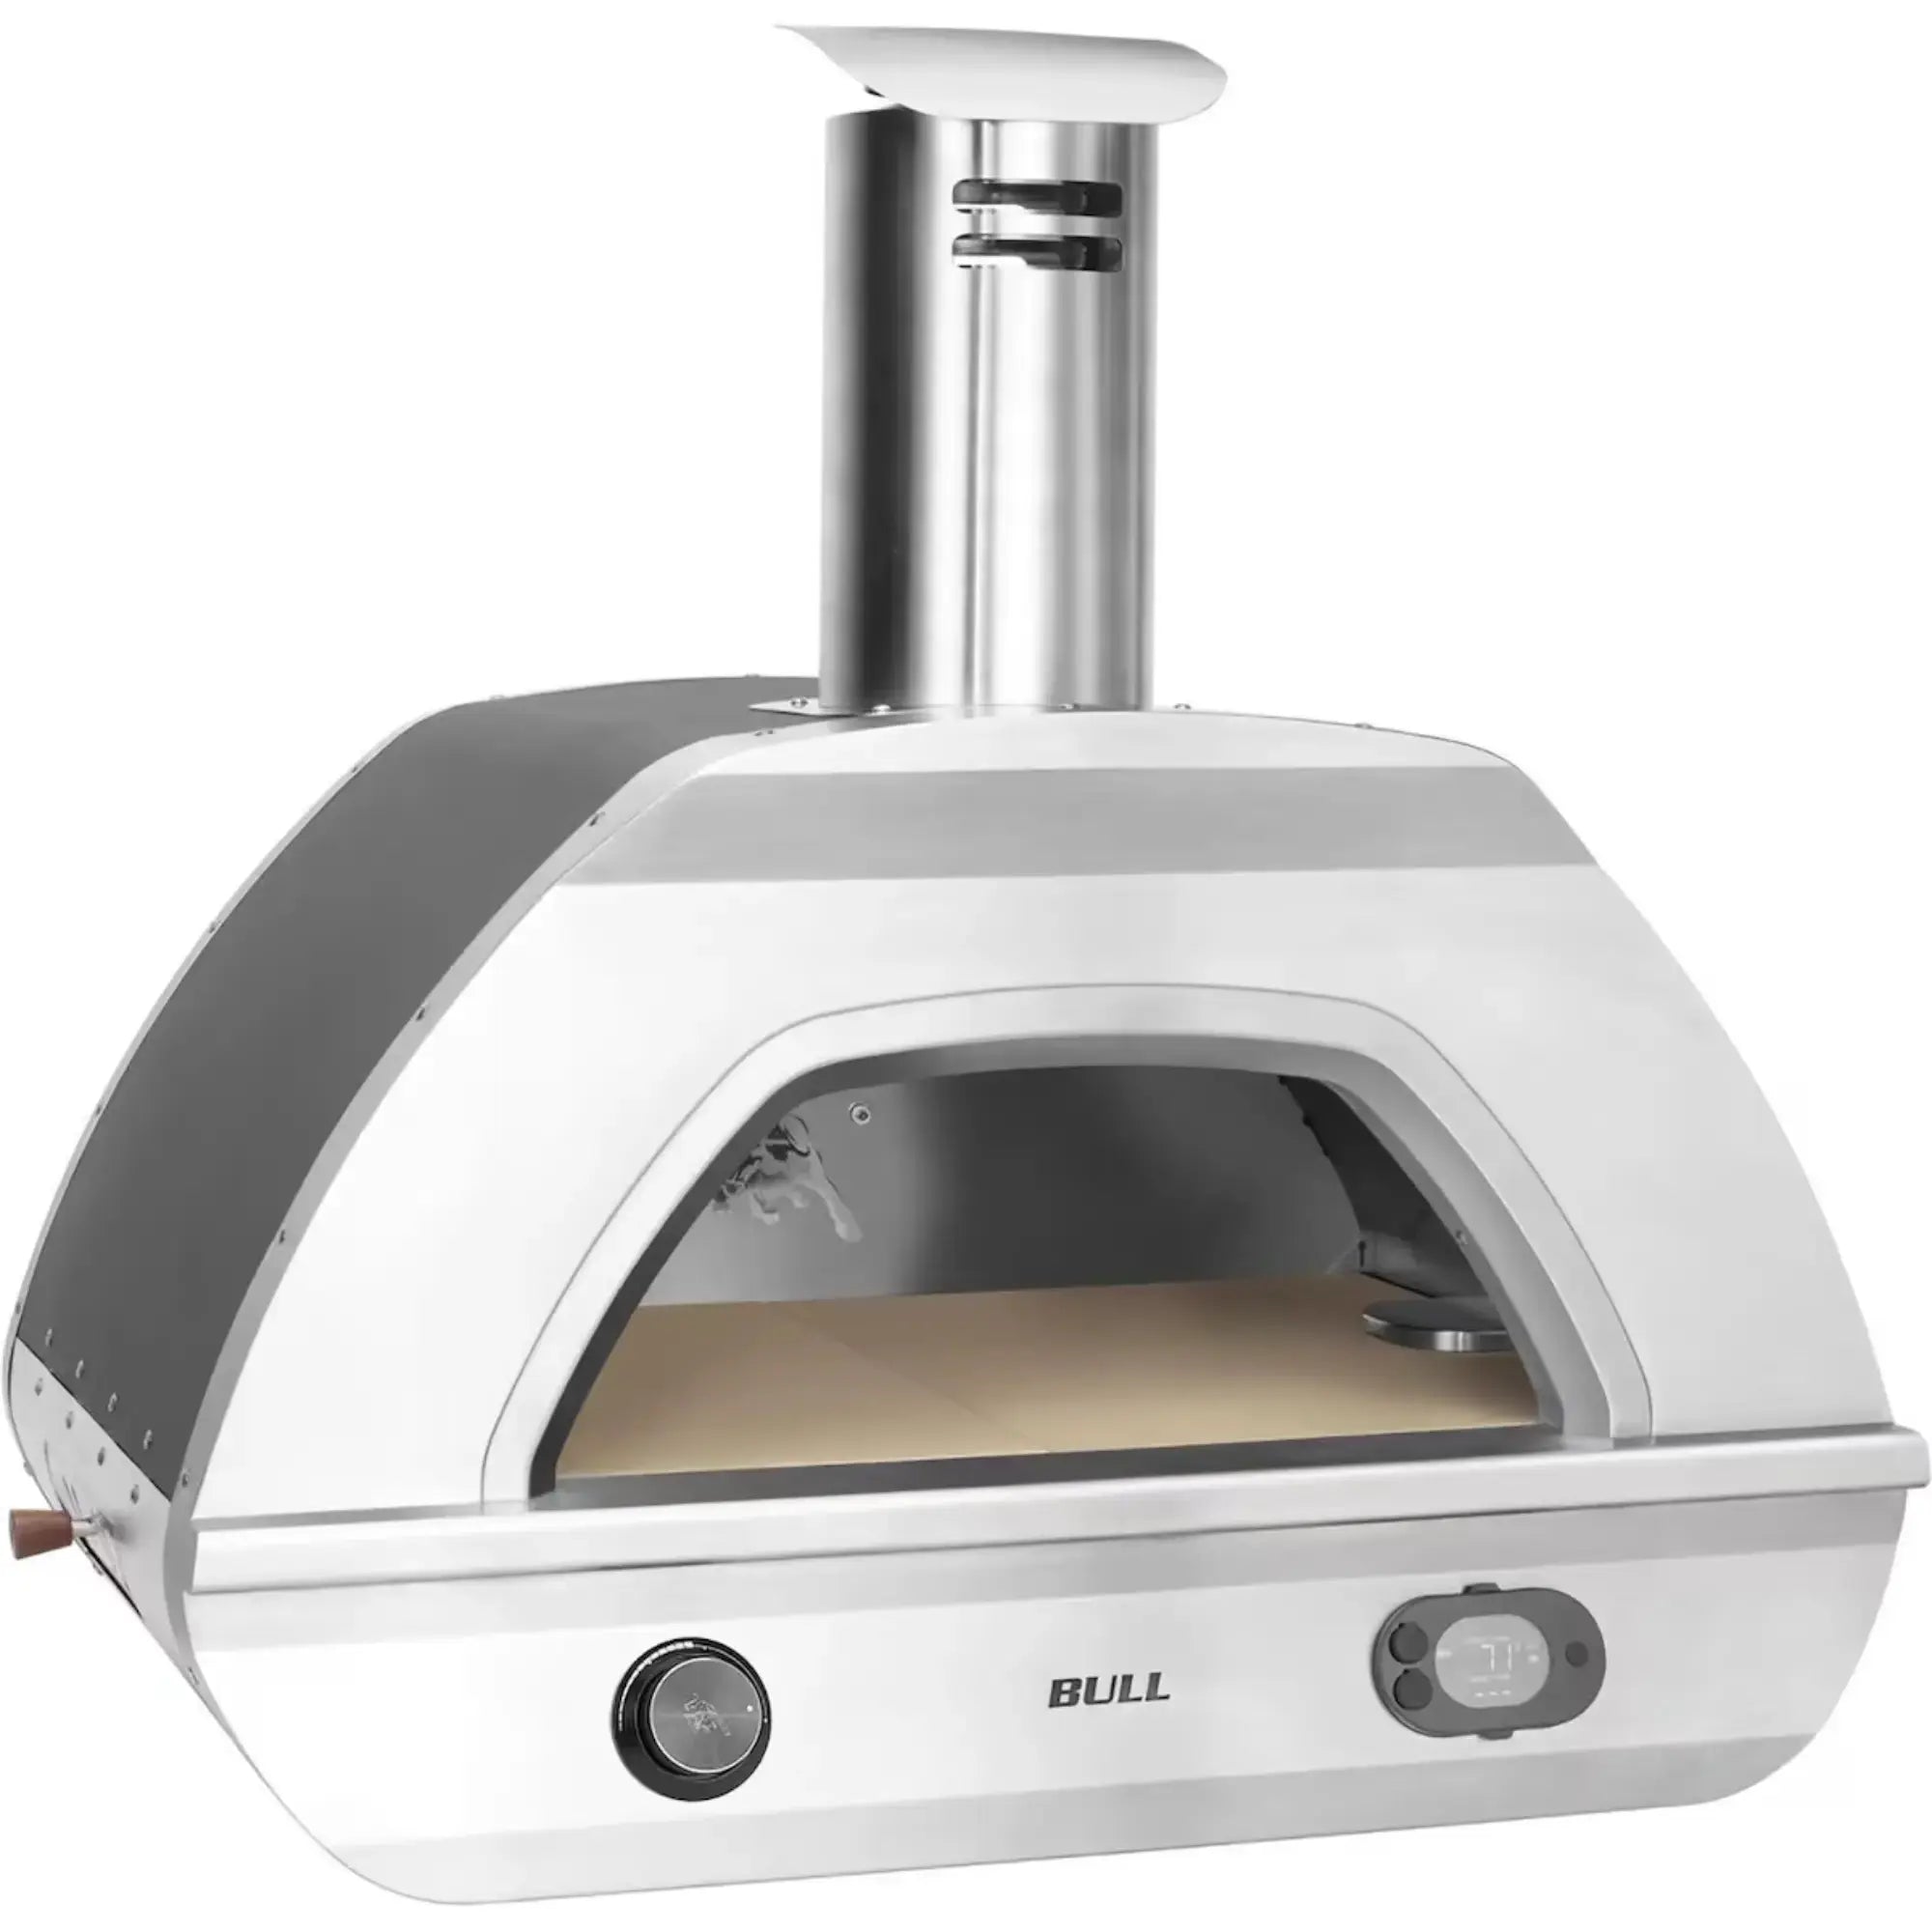
- Pizza oven (if you'll actually use it — otherwise skip)
Refrigeration
- Outdoor-rated refrigerator (critical — indoor fridges will fail outside)
- Beverage center or kegerator
- Ice maker or ice drawer
Storage & access
- Storage drawers (tools, lighters, towels)
- Trash drawer (trust us — you'll want this)
- Access doors (to reach gas valves, propane tanks, or plumbing)
- Propane drawer (if using propane)
Comfort & finish
- Vent hood (required under any roof)
- Outdoor sink
- LED lighting (interior and accent)
- Insulated jackets for built-in grills (protect combustible surroundings)
Step 6: Materials & Build Method
Island construction
Three main options:
- Prefab island kit: Arrives on a pallet, assembles in a day, finished with stucco or stone. $3,000–$10,000. Good middle ground.
- Custom masonry build: Stone, brick, or block built on-site. Most permanent, most expensive. $10,000–$40,000+.
- Steel frame + veneer: Contractor-built steel frame wrapped in stone or tile. Middle option in cost and longevity.
Countertops
- Granite: Most popular outdoors. Heat-resistant, durable. Needs sealing.
- Concrete: Great look, highly customizable. Can crack in freeze/thaw climates.
- Porcelain slabs: Non-porous, doesn't need sealing, modern look. Newer option.
- Tile: Budget-friendly but grout lines trap grease and stain.
- Avoid: Marble (stains), laminate (not outdoor-rated), butcher block (won't survive).
Step 7: Sizing Cutouts Correctly
Every built-in component requires a precise cutout in your island for it to fit. Measure based on the manufacturer's spec sheet — never estimates from photos. Cutout dimensions are usually different from the overall product dimensions because of flanges, venting requirements, and clearances.
Also factor in required clearances to combustible surfaces. Most grills need 12+ inches of clearance to any overhang and specific non-combustible materials directly behind and below them. This is where insulated jackets come in — they let you use combustible materials safely.
Step 8: Permits & Code
Depending on your jurisdiction, you may need:
- Building permit (for the structure, if permanent)
- Electrical permit (any new circuits)
- Gas permit (any new gas lines)
- Plumbing permit (sink/drain)
Unpermitted work can create problems when you sell the house. Get permits even if you think you can skip them.
Step 9: Budget Realistically
Ballpark total costs including utilities, island, components, and labor:
- Basic grilling station: $5,000–$12,000
- Mid-tier entertainment kitchen: $15,000–$35,000
- Full premium outdoor kitchen: $40,000–$100,000+
Then add 10–15% contingency for the surprises that always come up.
Want a Component List for Your Space?
Share your dimensions and how you'll use it — we'll help you put together a plan that fits both your space and your budget.
Talk to a Specialist →One Last Thing
Don't try to build the whole thing at once. Most of our customers start with the grill and a few drawers, then add refrigeration, then a pizza oven, over two or three seasons. That approach gives you time to learn what you actually use — and spares you from buying expensive gear that sits untouched.